Wednesday, March 15, 2017

I baked a whole bone in ham in Sunday.  Slow cooked ham is always good, with any side dish you add to it , in my opinion.

Problem is, there is always lots of left over ham.  I freeze some of the slices for sandwiches later on, and it also gives me plenty of extra meat to make my homemade ham salad for quick lunches, and snacks.

Here is the easy recipe.  I have been making it this way for 5 years, and my family loves it.  Hope you give it a try.

It has a smoky flavor, with tang from the pickles, and a little sweetness to finish.

Chop the meat with a knife into small pieces.  (I remove most of the fat, and the skin from the baked ham.) You will need about 2 Cups chopped.


 Chop about 1 Cup hamburger dill slices finely, and add to the meat.

Add 1/8 tsp. liquid smoke, 1/4 tsp of the pickle juice from the jar, 1 Heaping TB Hellman's Mayonnaise, and 1 Heaping TB Miracle Whip Salad Dressing.  You can't see the liquid smoke, or pickle juice; but it is in here.


Mix to coat the meat, and pickles with the dressing using a fork.  If it seems a little dry, you can add a few more drops of the pickle juice.


Hope your family likes this as well as mine does.  It gets eaten pretty quickly.


Sunday, July 03, 2016

Original Artist Cashmere Rabbit

I so admire my fellow Etsy artist stuffed teddy bear makers.  I could look at their beautiful creations for hours, and hours.

They bring back a flood of memories for me of past well loved bears,bunnies, and a very special monkey that I have to this day, and mind you; childhood has been a long time ago.

I am inspired to try my hand at making a jointed bunny myself, he will be my character, as most of my dolls are.

I found these great glass eyes and cotter pin joints from another online Etsy seller, and I have the perfect old Georgio Armante designer coat of 100% cashmere wool to make his body from! I scored the jacket (with a bonus all silk lining) from Goodwill last year, and it has been awaiting transformation.


So, here is the beginning of my train conductor rabbit assembly.  Still lots to do, but he is super soft, and I like the way his hat came out.  I think I will make more plush teddy bear style dolls.  Maybe the next will be a mohair one.

Summer Flag Dessert


 I wanted to contribute a dessert pizza to the meal today.  Wanted to, that was; until I had an epic fail.

Finished Dessert


I haven't made one in a long time (in fact my husband can't ever remember having one, it's been that long).

I forgot that cookie dough enlarges and flattens as it bakes.  OOPS.

The sugar cookie dough I rolled flat for the crust baked past the edges of my baking stone, and flowed over to the oven bottom.

I tried (without success ) to transfer it to a larger pizza pan, upside down; with my husband's help.  I put in back in the oven, but it cracked, and fell apart.

Now what to do with these ingredients?

purchased roll of sugar cookie dough
2 bricks cream cheese
1 cup powered sugar
2 TB vanilla, divided
1/2 pint blueberries- washed
1 pint strawberries- washed and stems removed

Fresh Berries


Lay dough out of refrigerator and allow to warm slightly.  Roll out onto a cookie sheet, leaving at least 3" on the outside edges.

Bake according to directions.

Bake until crumbly, but not too dry, and browning is not necessary. 

When cool, crumble the cookie into a mixing bowl.

With a fork, mash one of the blocks of cream cheese into the mixture, and stir in 1 TB vanilla, until well blended, but still has large crumb pieces remaining.  Add the mixture to a 9" x 9 " square baking dish.

Cookie Cream Cheese Layer


I halved the strawberries, and added the blueberries to the left top corner, and the strawberries in lines all across the pan on top of the cookie mixture.

Berry Layer


You could stop here, and serve with whipped cream.  Just omit the powdered sugar, and additional vanilla and cream cheese, but I always go all in.  I made an icing from the remaining cheese, sugar, and other TB vanilla.  I whipped it up with a fork, so you do not even have to get the mixer out.

Icing


I added the icing to a zip sandwich bag, a couple of tablespoons at a time, and sealed the top.  Cut a small snip in one corner, and use it like a piping bag to add some sweetness to the top layer.  I dotted on the "stars", and squeezed the stripes in a line on top of the berries.

Refrigerate at least 30 minutes before cutting into squares, and spooning out.

Let me know if you like this one.  When life give you lemons.....


Thursday, May 26, 2016

Patriotic Primitive Crow Pattern


I love the 4th of July!  School is out, my garden is in full swing, and there are celebrations everywhere in the rural towns surrounding mine! Designing a primitive doll for the July 4th season is always fun.

This is my newest design for a crow doll, Sam (for uncle Sam, of course).  He will have cousins coming soon, Toby (short for October), and Santa.

I posted my sketch a couple weeks ago on my Facebook, and my friend Charlotte Fletcher @ Roma Land Woodcrafts asked if she could paint the design!  I was so pleased, and of course I said YES. She is a great folk art tole painter, and I was honored that the design caught her eye.


Love the way she translated it into a painting, as she did him justice.  She painted him as a gift for a friend.
                                                              PATRIOTIC CROW

Sam turned out pretty as a picture, and here he is ready for my Etsy Shop.

If you would like a digital download of thisPAINTING PATTERN, only, it is available for 6.00. 

Happy Summer!  Hope your picnics,celebrations, and parades are all memorable, too.


Tuesday, April 05, 2016

MY ETSY STORY AND TIPS

Uncle Sam Bunny


A little about my ETSY adventure!
I am a former brick and mortar retail store owner.
I taught tole painting classes, and sold cookie cutter primitive items purchased from wholesale companies, with some of my hand made items mixed in. I noticed a trend with my items out selling the made in China; but business in my small town of Georgetown, OH was sporadic.I needed to reach out to find more customers.


Monkey Doll


I gravitated over the years from tole and decorative painting to designing and making primitive dolls. I sold my unique patterns to DIY sewers, and knew the finished dolls would be marketable, as well.

I operated my business, from accounting to marketing and everyday operations for 12 years, and closed in 2013 to concentrate solely on ETSY. I launched www.etsy.com/shop/CottonPickingFolkArt a year prior in 21012, and made the decision to sell exclusively on ETSY in mid year.

Etsy is a community of artisans unlike any other, in that they are willing to help other like minded seller, and I loved that from the start.

The biggest tips I would offer fellow Etsy sellers would be:
Good photography plays a huge role in selling your designs, and pricing is sometimes to most difficult for me still. Making a fair profit for the amount of labor you put in is sometimes difficult to measure. I am constantly trying to improve in these areas.

 I would tell new sellers on ETSY most of all the be patient the first 3 to 6 months, it takes time to establish networks, and social media contacts. So never stop trying!

I am also a member of many groups on Etsy, including Handmadeology.  I have found their marketing tips invaluable.

Monday, February 08, 2016

Original Artist Jointed Rabbit

I have long been a fan of original art stuffed animals.  There are many wonderful artisans among my fellow Etsy seller that have amazing talents!

I think, for me , it is the fond memories of playtime they evoke when I look at them.  Mine were never as fancy, though.
I do still have a favorite monkey plush doll from the 1960's as a reminder of my childhood, and his stretched yellow suspenders that no longer fit are a testament to my love for him.

I am making this original artist rabbit with those care free memories in tow.  I like to give all my primitive dolls character, and this one will be no exception.
In a historical style, I am using German glass eyes for the first time, and a 5 way jointed body design. Wish me luck!

I have some 100% cashmere that has been crying out to become transformed for quite some time, and it will make a super soft finished rabbit.

Here is my rabbit beginning to take shape.  I like the way his conductor hat turned out, to this point
Stay tuned for the finished Spring Express conductor bunny! I am so excited to get him finished.

Friday, December 11, 2015

Primitive Transformation For Dollar Store Gift Bag

I had a dear friend purchase one of  my hand crafted Santa dolls as a gift.

I am always try to think of ways to package items to make them as special as the gift inside.

So , Here is the gift bag I purchased at one of the local Dollar stores, and added some prim touches to.

A pretty bag, with a somewhat primitive theme.  I thought the sled appropriate, since the gift inside is a Santa.  Had to get rid of the shiny shoestring handle first.  So , I untied the knots on the inside (I could have cut them too) and pulled them out.  I will save them for another project later.

Ok, that shiny tag hag to go too. I made my own from manilla colored card stock.  I placed the old one (opened out  so you get the full tag before folding) on a piece of cardstock, and traced,  Then I tore (NOT cut) it from the cardstock.  I folded it in half, and sewed the twine I will use for handles through it with a big eye needle. Edges have been stained.  See the method, and recipe below.

HINT: Use the old string handle you remove to measure the length of your new handles, or make it longer like I did if the item in the bag is tall.


 Poke the end of the jute through the hole in the right side of the bag, and tie a knot at the inside.  Making sure your tag hangs the correct direction, and opens from the right.  Repeat on the left side.  Attach the other handle to the back of the bag in the same way.


Score along the ruler top with your scissor blade to make a straight crease in the card stock. This will become the decorative top edge. Fold back, and then tear along the scored line  across the width of the sheet.
You may need to score, and tear yours the 11 inch direction if bag is bigger, or piece the strips together.
I used the top, and then the bottom of the sheet for the front and back of my bag, so at least one edge was a finished edge, and the other edge was torn.  Smaller, side pieces, came from  side edges.

I stained the torn edges with a small brush, and my coffee stain (recipe below).  I also added some stain around the edges of the tag.  If the first pass with the brush is not dark enough, re paint when dry. Make sure tag is dry completely before next step.


I hot glued the coffee stained strips I made (torn side down) around the front edge right under the handles, and added 2 shorter pieces around the sides.


Finished the bag off with a stream of white glue straight for the bottle along the edges of the sled, and top of packages, and dusted with old fashioned mica flakes.  You can leave this step out, depending on your printed design.  I only frosted the front side of mine, since the back won't get much attention.


Viola.  Here it is.  Transformed, and ready to deliver.
LOVE the way it turned out! Love the way the torn edge, and the tan tissue paper filler match!

Here are the materials and recipe

Purchased gift bag
Card stock (tan, grey, or manilla, NOT white.)
Jute twine and  Needle with large eye
Hot glue and Glue gun
White Glue and Mica Flakes
Old paint brush
Ruler and paper scissors
Coffee stain
 -dissolve 4 TB of instant coffee in 1 Cup hot water
(use the cheap, store brand. It works just as well)-


Tuesday, November 17, 2015

Primitive OOAK French Snowman Doll

This was the first snowman I made this season for my Etsy shop. For some reason, I wanted to add a beret to his head , I began calling him Jacques as he came to life. (for the famous French chef.  Love that show)
                                                                   Jacques Snowboy

So, I am pleased to present Jacques. He is a 17"  OOAK snowman with a pocket full of candy, and a prim candleholder.
Who knew France would soon be front and center in all the news this week?  It's kinda strange how France was on my mind then, and now even more so.  My thoughts, and condolences to the French people.

Monday, October 05, 2015

LOOK SO REAL PUMPKINS

  Just finished up this batch of fake pumpkins.  It' s funny how I cut them all the same size, but they take on a personality of their own.  I love them because, the are everlasting.  Hate buying those real ones, and they wither, and rot before Thanksgiving!

I also made some gourds, and am pretty happy with the way these turned out, too.
                                                               CLICK HERE to see details on both

Sunday, September 13, 2015

SEPTEMBER SCARECROW WINNER!

Amanda Dotson won my scarecrow prize in the fall giveaway!

Thanks to everyone who participated with a comment.
Check back for October's  contest.
Be sure to comment on next month's post for your chance to win!!!
You can also find all the info for the next giveaway when it begins on my Facebook page.
 Give me a thumbs up, so you don't miss a thing there.

Happy Fall, Y'all.

Becky


Monday, August 31, 2015

OFG FALLING FOR FALL ON ETSY

Team OFG is celebrating fall with new items in member's Etsy stores.

View a sampling of the merchandise in the slide wheel at the right.

 Here are 4 of COTTON PICKING FOLK ART'S new listings, and to see more visit MY SHOP.


                                                 Mouse Pincushion On Spool Base


                                            Set 3 Little Pumpkin Bowl Fillers                     

 Once your are on the Etsy site, search FFFOFG to see all participating shops.

 You won't be disappointed!


Thursday, August 27, 2015

DESIGNING A QUILT

This is my latest project.  A pineapple table mat/wall hanging quilt.

I do a bit of research before I create a pattern, as to historical value, and color scheme that would have been used in the Colonial Era, since primitive hail from that time, and I am drawn to that for some reason.

This little quilt was just the right size for me!  I have tried before to create bigger quilts, but they were soon finished, and not quilted, due to their size.  It is like wrestling a bear to push yards of fabric through a sewing machine, and had to I send them out to be quilted.

This one was 18" square, so it was easy, to zip through the machine quilting part . Hardest part for me was designing the pattern so the cut work came out evenly.  I really enjoyed doing the handwork on the up cycled wool leaves, and fruit itself.

Love the way my little primitive quilt turned out. Find it here   QUILTED PINEAPPLE.

I am offering this pattern  as well, and you can find it here  MINI WELCOME QUILT PATTERN

Tuesday, August 25, 2015

WIN THIS SCARECROW SHELF SITTER BY COMMENTING


Paper Hang Tag Warns the crows to "Stay Away!"


One lucky person will win this scarecrow bust.  Odds depend on number of entries, and only 1 entry per person, please.

It could be you.  All you need to do is leave a comment on this post.  Hurry, you only have a few days.

The winner will be chosen by a random drawing On Saturday, Sept 12, 2015.

Like my new Facebook business page  Cotton Picking Folk Art . where I will post the winner of the contest on Sunday, Sept 13, 2015.  Get updates on sales , and info on other prize giveaways there, too.

If you are not on Facebook, use your email address to submit the comment (Not in the comment but at the beginning where it will ask for you email so it is kept private), and I will let you know by email if you win.  Emails are kept confidential, always.


Good Luck.

Monday, August 24, 2015

VALENTINES DAY DOOR GREETER CHERUB

I wanted to design a new Cupid Valentine door hanger. He evolved as I went along, like other dolls I have done in the past, and moved along pretty quickly.

Then the finishing touches for the naked cherub. I added the quilted wings, and was not pleased with the way they blended in with the color of his body.  So, I thought , I'll add a cheesecloth wrap to them to bring them out by adding more dimension.  Viola, I loved it instantly.

Next , the hair.  I was really stuck now.  I have done angels with whole clove spices attached to the head for hair. No  I wanted this to be unique to this pattern I was offering.  How about peppercorns?  I tried that, too. Not pleased with that, either.

So off I went to the supply drawer in my craft room.  I found some curly jute I had ordered a while back.  Eureka!  This was what Cupid needed.


I am pleased with the way it all turned out.
As  I added the curls to his head, the poem...There was a little girl, who had a little curl, right in the middle of her forehead.... came to mind. Even though he was Cupid,not a female, he needed a curl in the middle of his forehead.

Funny, when I was young, My hair was always naturally curly, and I disliked it very much!  Always wanted poker straight hair I could part in the middle, and let swing like those shampoo commercials.  Once I got older, I realized how lucky I may have been, and who knows, maybe it inspired me to add some curls to my newest creation? 


I hope you find inspiration in everything around you.  Pull out some old memories, and relive the joy in them everyday.

Thursday, July 02, 2015

PRIMITIVES ARE MY THING


Someone asked me recently what draws me to primitives.

I think it's my earliest memories, and my desire to surround myself with things from my childhood, that fuel my desire to collect, and decorate with primitives.

When I was born we lived in KY. My parents both had jobs there with US Shoe Company. My Grandparents lived across the river,in Ohio on a small farm, with lots of barns,sheds,a chicken brooder house, and a great old farmhouse.

I so looked forward to every weekend when my parents, my sister, and I would pile into the car, rain, snow, or shine, and head to Grandpa and Grandma's.  No interstate, just two lane roads, and familiar landmarks along the way. One of the best parts of this was seeing my Aunts, Uncles, and cousins. We would all eat a big dinner, and then; weather permitting, the cousins were off to explore the nooks and crannies of the barns, play softball, army, or take a hike "down the lane".


Grandma had a wringer washer on her back porch, and Grandpa's shed included a pot belly stove to heat it on winter days when he would tinker there. Grandpa was an Auctioneer by trade, and always had things like a goat cart, and an old Victrola record player he had bought to resell, and then never did.
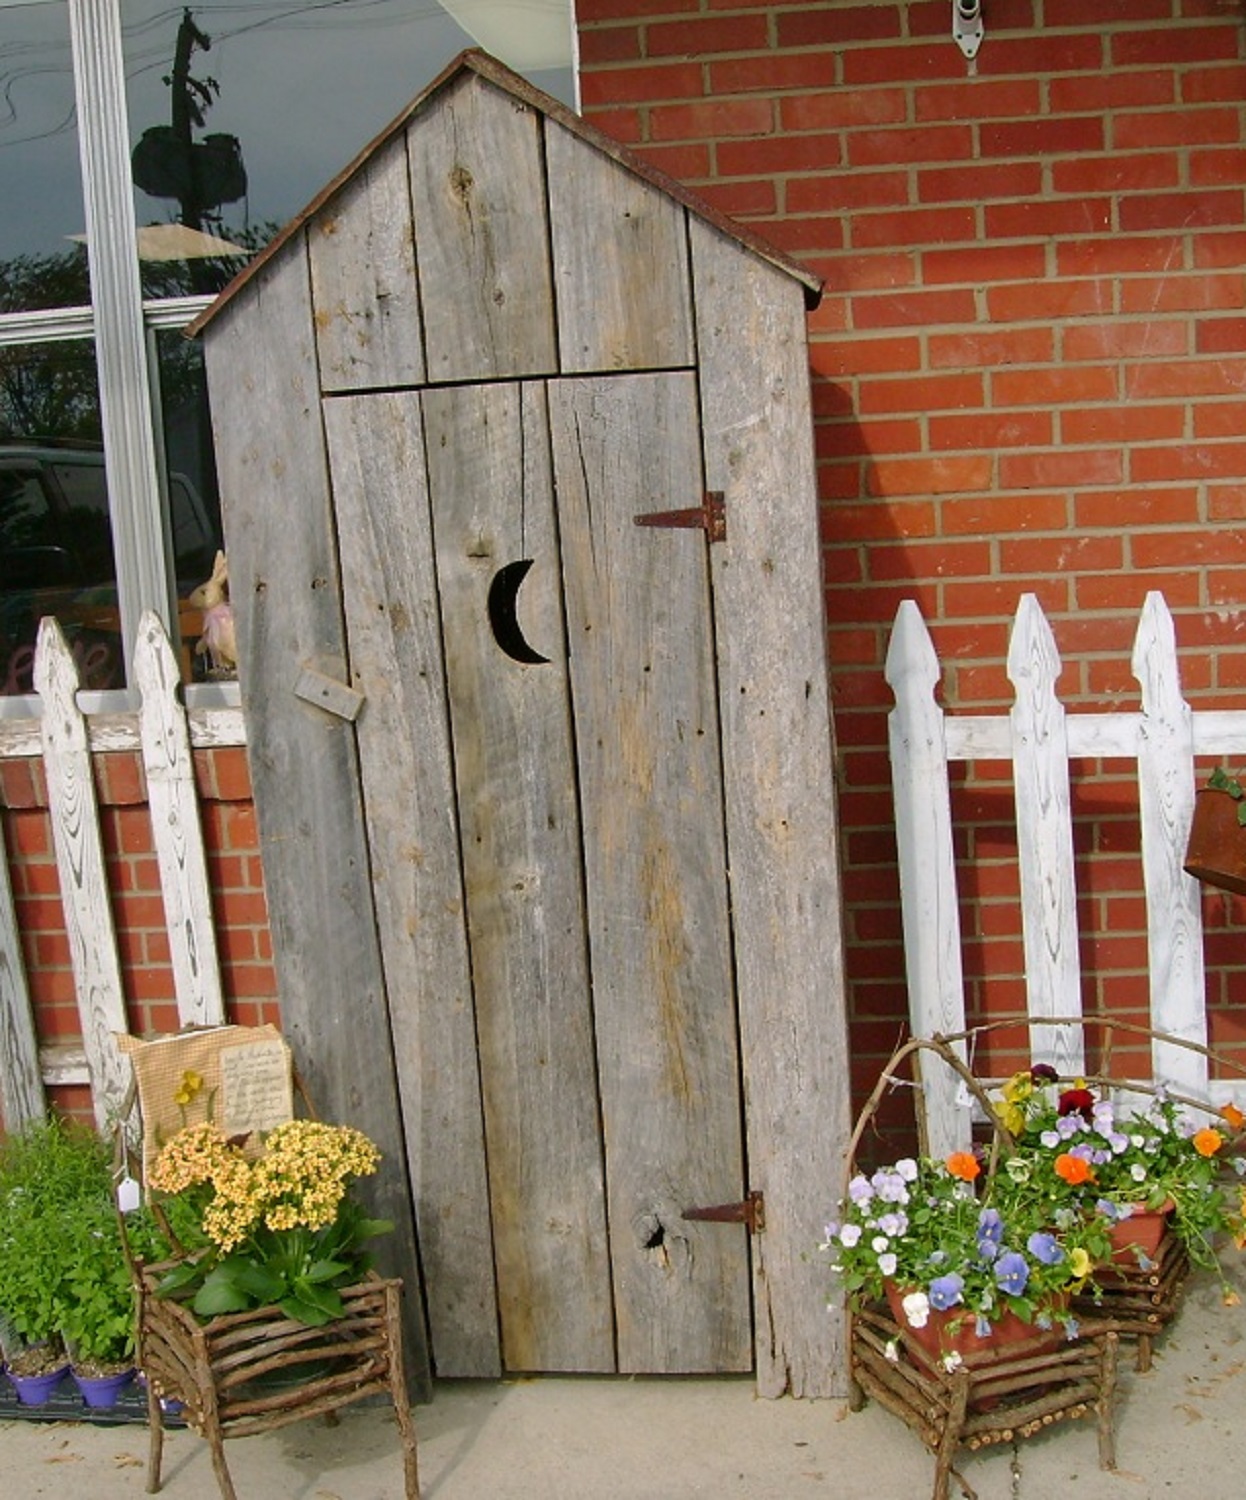
Grandma used crocks to make sauerkraut, and pickles. She also had  coal oil lamps that she would use if the electric went out. I even remember the old outhouse (by my time, it had long been out of service).


I am so thankful for those weekend commutes for so many reasons. We never know where life will take us. Every day is a learning experience that we do not realize at the time.

 Families do not seem to connect on that same level today, and I am sure that the things I am drawn to are because those were some of my best memories.

Thanks for stopping by. I'd love to hear your comments.


Sunday, March 15, 2015

THREAD AND MORE THREAD

I posted about this on another friend's blog, but wanted to share with you.
I guess I am spending a lot of time sewing.
It' s funny how when you're married you don't even realize sometimes how intertwined your life becomes with your spouse.
I need to add here also that I am a crafting hoarder. Empty spools are among one of my "round to it projects."


 My sewing machine has been running a lot lately, and my very patient husband, and  2 impatient schnauzers, and a yellow tomcat have had to wait on their dinner more nights than one this week.

We sat down  to dinner one evening , and hubby says, "I had the strangest dream last night."
I say, "What?"
He adds, "I was in a big room with a huge machine, and someone says to me that the spools are about to run out."  I look up, and there are 3 spools with thread , and some of the spool is showing through the thread on them.  I am starting to panic, because I don't know where to find any more thread."
I had to laugh at that one.  He 's a cabinet maker, and never used a sewing machine is his 50+ years.

I know where to find more thread.  Gives me an excuse to go shopping for fabric, too.
Hope I made you smile.  Have you had a similar experience?  I do love to hear your comments.

Friday, December 19, 2014

WHITE SWAN DECOY CUSTOM ORDER

I love the challenge a custom order presents. It sparks my creativity, and often I come out with a new product to present in my ETSY shop.

This primitive swimming swan decoy with the s bend in the neck was more time consuming, because I needed to devise a way to support the head. After a couple of tries, I was so pleased with the end result!

It is now winging it's way to Emmy for her to enjoy in her home. (Pun intended)

Thought I would share my pictures of the swan decoy with you.


Merry Christmas to all my friends out there!


Monday, November 17, 2014

MAKING A QUILT BATTING SNOW CAKE STAND COVER

I love to decorate, and it snowed here today!  Early for our part of the country.  Gave me the inspiration to add a little faux snow to the house.

I wanted to use these deer ornaments somewhere.  They are a demure 4", by 6" tall, and I felt like they needed corralling,so they didn't get lost in the Christmas decorating.  I made a centerpiece from  a cake stand, and some scrap quilt batting. They will grace my kitchen table now!


Any  cotton blend quilt batting will work, and any cake stand, even a plastic one.  I used some of the less expensive batting here, but I do not recommend polyester.

You will need

 A cake stand

 Some Scrap Batting

Scissors For Fabric
Ruler, or Tape Measure
Marker


Begin by cutting a square larger all around than your cake stand. My cake stand was 4 1/2 inches tall, and I wanted about 3/4 of the pedestal to show, so I cut my square 4 inches x 4 inches. More will get cut off, but this gives you a starting point, since stands will vary.
Turn the cake upside down on the batting, and measure out and cut the square to the size you need.


Next I measured out from the pedestal  3" (or whatever length you want your skirt to be depending on the height of your cake stand), and marked a few dots 3 inches out, all around in a circle with a marker.


Cut out following the dots to form a circle. Easy,peezy. Mine is not perfect, but it doesn't matter when it's finished.


Next, add cut work triangles to the edge. I free handed mine, but you could make a little cardboard template, and trace the cutting lines on before you created the edge if you want it to be perfect.  Again mine is not perfect, but I love the finished snow doily.


To get your cake stand snow skirt to drape correctly, lightly wet the entire piece of fabric, and wring it out before adding it to your cake stand. Once it dries, it will hold it's shape.

If you would like to purchase the handmade reindeer ornaments, please visit my ETSY store.   www.etsy.com/listing/211557336/4-reindeer-christmas-ornaments-woodland

I would love to know how you used your cake stand doily. Please leave a comment.

Thanks.
Becky